 |
Welcome to the Reel Boating Forum.
From Trailer Boaters to Captains to Marine Industry Professionals, the Reel Boating Forum welcomes you to join in with other boaters and fishermen discussing topics including sportfishing, marine electronics, boating safety, boat engines and more. Use our FREE boat classifieds to sell your boat or fishing gear. Marine Industry Vendors are also welcome to register a username and freely post their products or services |


TheShortAnswer
-
Posts
146 -
Joined
-
Last visited
TheShortAnswer's Achievements
")
Newbie (1/14)
1
Reputation
-
Big Kings and Wahoo running off St Pete
TheShortAnswer replied to TheShortAnswer's topic in Boating and Fishing Discussion
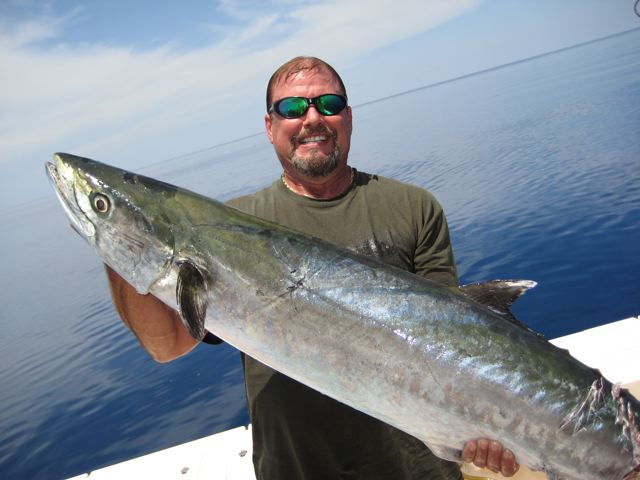
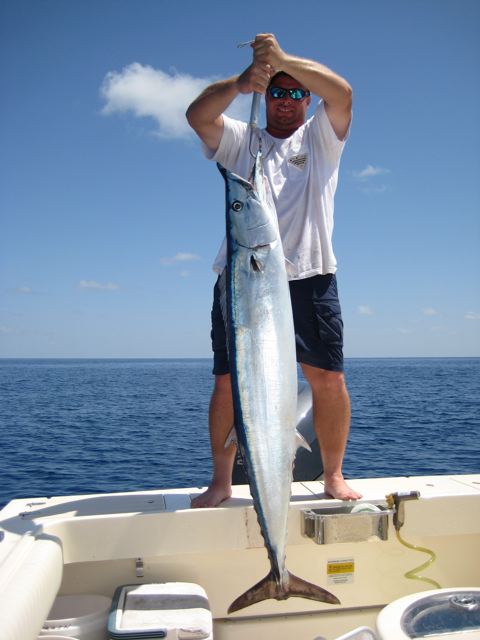
pipe/135ft on the hoo, 90 mi/JP bearing 270 on the king. king steak anyone?.........on a full sized dinner plate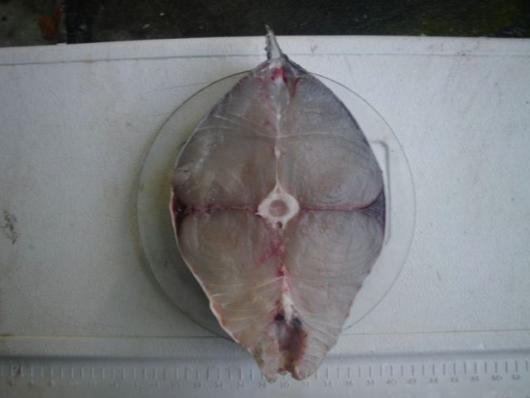
-
Caught these on my Parker during the past week. Sight casted to the hoo with a thread fin. Caught the king on a flat line/thread fin both while bottom fishing. Hoo was 62.5 and the king was 56.5 minus the lower third (cuda bite)......so probably the intact fish was high 60s best guess. All in all a great week in the Gulf.
-
BOTTOM TRIP out of DULAC
TheShortAnswer replied to JESSE JAMES's topic in Boating and Fishing Discussion
those scamp are insane. nice haul. -
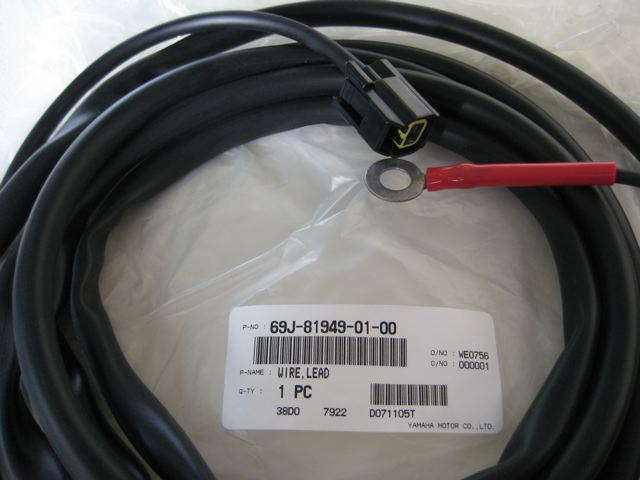
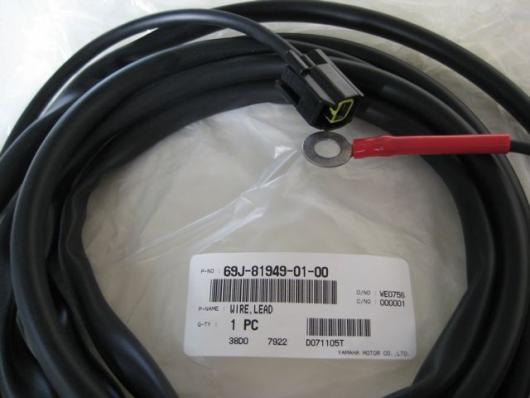
Must be a little different. No fuses on mine, just a wire in a sheath and two connectors on either end.....about $80 retail from the Yami dealer. The last time I rigged this up, on the advice of the mechanic at the Yami shop, I made my own charging wire using the plug that gets removed from the charging lead. This time I was in a hurry to get offshore so plunked down the cash. Both have worked equally well.
-
not football players by any chance are they?
-
sounds interesting. i was wondering why the wire was inside a sheath (exception 1).
-
i defer to your knowledge and ABYC...........the cable in the pic comes from Yamaha and plugs right in out of the package. i think i will keep it simple. as said in a previous post ......probably fused prior to the plug in.
-
with no piece of electronic equipment needing protection, i see no need for fuses. the aux charging wire acts the same as the battery cables which are the "wires" that normally charge the batts.
-
I have a single engine (2006 f250) boat with 2 factory installed batteries. My windlass is direct wired to batt 2. Battery selector switch is the standard 1, 2, both, or off. Many guys like to run in "both" so that both batteries receive a charge from the alternator while running. I like to keep my batteries separate and either run in "1" or "2", that way I know I have a fresh battery available regardless if the other battery has a malfunction or is drained. I have in the past practiced the advice of running out on "1" and back in on "2" but sometimes forget. On a recent trip I did forget and ruined battery 2 with the windlass. They were due to be replaced anyway......no biggie. On the boat I have now, I never got around to using the Aux charging wire coming of the alternator. It is a capped plug-in that sits on the engine pan under the engine fuel filter. You simply pull the cap off and plug in the charging wire. Run the charging wire through the cable/wire chase that goes from the engine to the transom, then hook the positive (red) to the desired battery. In my case it was battery 2 which has the windlass direct wired. By using the Aux charging wire, both batteries charge at all times while the engine is running regardless of selector switch position, and keeps the batts isolated from each other. One cool thing is the windlass (because it is DC) runs even faster because of the charging wire.........very cool. No more forgetting to change the batt switch. You can buy the Yamaha charging wire (see my pic), or you can actually make one using the protective plug-in cap that you remove.
-
fixed a Seastar helm issue today
TheShortAnswer replied to TheShortAnswer's topic in Boating and Fishing Discussion
hard to clean (?)....... just go for it. SeaStar says the piston between the two check valves also comes out as well. -
fixed a Seastar helm issue today
TheShortAnswer replied to TheShortAnswer's topic in Boating and Fishing Discussion
FWIW The MyWedge (i use it) keeps the engine from falling down in case of trim/tilt hydraulic failure and does nothing to keep the engine from falling "over" to port or stbd. There are two check valves on either side of the helm pump. They can be accessed on both sides of the helm via a large straight slot cover about the size of a nickel. The check valve consists of a housing, spring, and ball bearing sealed by an o-ring. these can get gummed up or actually corroded if water/salt has entered the unit. turning the wheel slowly with no engine movement unless you give it a quick jerk, is a classic symptom of a stuck check valve. prior to the jerk, the valve is stuck closed and not allowing the helm to push fluid down the line to move the cylinder/engine.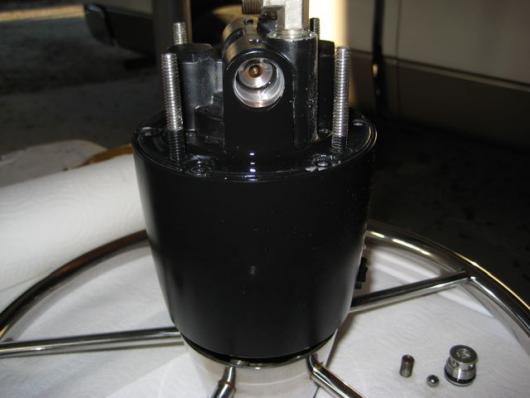
-
fixed a Seastar helm issue today
TheShortAnswer replied to TheShortAnswer's topic in Boating and Fishing Discussion
if the seals are good, fluid level OK, and the helm is pushing fluid, then air is the likely culprit. i would have a local shop power bleed it. FWIW i have not had any bad CS experiences with SeaStar. but i do think my original helm was lemon that barely made two years with acceptable performance. if this new one starts to act up, i will not hesitate to switch to another brand. -
fixed a Seastar helm issue today
TheShortAnswer replied to TheShortAnswer's topic in Boating and Fishing Discussion
not hard to bleed the system, just takes two people to do it. the instructions are clear and easy to follow. i recommend taking out anything near the helm that can get soiled by hydraulic fluid. it is kind of like working with 5200.......nearly impossible to do without getting some on you or where it is not supposed to be. my engine would fall completely over between my house and the ramp (20 min ride). i did not have any leaks prior to the helm change and was fairly certain all the air had been bled as i had bled the system multiple times after cleaning the check valves. took the boat out twice since the change out.........very smooth and responsive.......better than when the boat was new. (fingers still crossed). -
my 3 yo Parker came standard with a SeaStar hh5271 (2006). worked as good as expected for the first two years. then the check valves started sticking. cleaned them periodically. then more and more frequently. the hydrauic fluid was beginning to add up. also the engine would fall over to one side while trailering.....no biggy but a PIA to get in the boat and straighten prior to launch. finally decided to just bite the bullet and buy a brand new helm. best price was at Gotomarine.......very nice to deal with and quick delivery. based on my research over the last year on SeaStar issues, it appeared that for good while there, they were having some quality issues, whereas prior to those issues, they had a pretty solid reputation. it seems that while my new helm pump still shares the same designation (HH 5271) it appears outwardly, and inwardly to be a better design (i hope) from the previous one. installed it tonight, feels much smoother, even more so when the old one was new. time will tell (fingers crossed). point of interest if you get a new helm, save the old 90 degree fittings and use them, because the new ones that come in the box have too much plating on them and cannot be tightened as specified. oh, and BTW the engine stays where i put it now.........the new helm has solved all the issues i had.
-
the silver lining of this story is that i am now proficient at dropping the LU and doing my own WP changes. that was the only maintenance issue i was not doing myself........now i can do it all.....yipee.